How to bend 250 or 332 code rail with a Railbender
Use a rail bender to apply uniform pressure to help prevent distortion when bending rail for your model railroad layouts.
Equipment
- Sunset Valley Railbender (250 or 332)
- Brass, Aluminum, or Stainless steel rail
- Vice or mounting equipment
- Pencil or chalk
- Cardboard
Usage Details
- Clamp the rail bender in a vice or mount it on the edge of your work bench or other sturdy location.
- Mark out the radius of the curve you would like on some cardboard or with chalk on your workshop floor or other suitable surface. This will help you to accurately repeat the curve as needed.
- The bender works in the same way as you can break uncooked spaghetti by using your thumb and two fingers. The screw adjustment on the middle roller is used to apply pressure to the rail.
- Place the rail upside down across the two outside rollers. The ridge in the rollers should fit in the indentation in the rail profile.
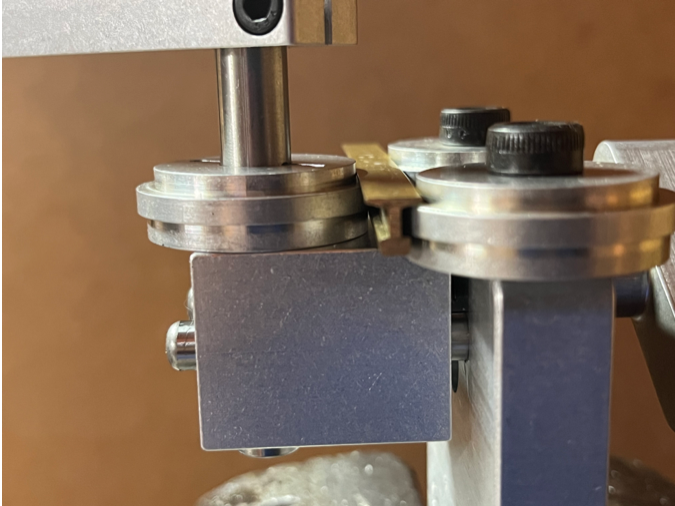
- Start on one end of the rail and tighten the middle roller until the rail is just snug. Then tighten a bit more. Start with about an 1/8 of a turn on the adjuster knob. Then turn the crank to pull the rail through. You will notice the curve as it comes out the other side.
- Compare the rail to the radius you drew earlier. If it needs to be bent further, place it back in the bender and tighten the adjustment knob a bit more and crank it though again.
- It will be easiest to bend both rails the same amount if you bend both rails before making changes to the adjustment knob. If you overbend the rail, it is possible to place the rail in the bender with the curve in the opposite direction, repeat the operation and straighten the rail.
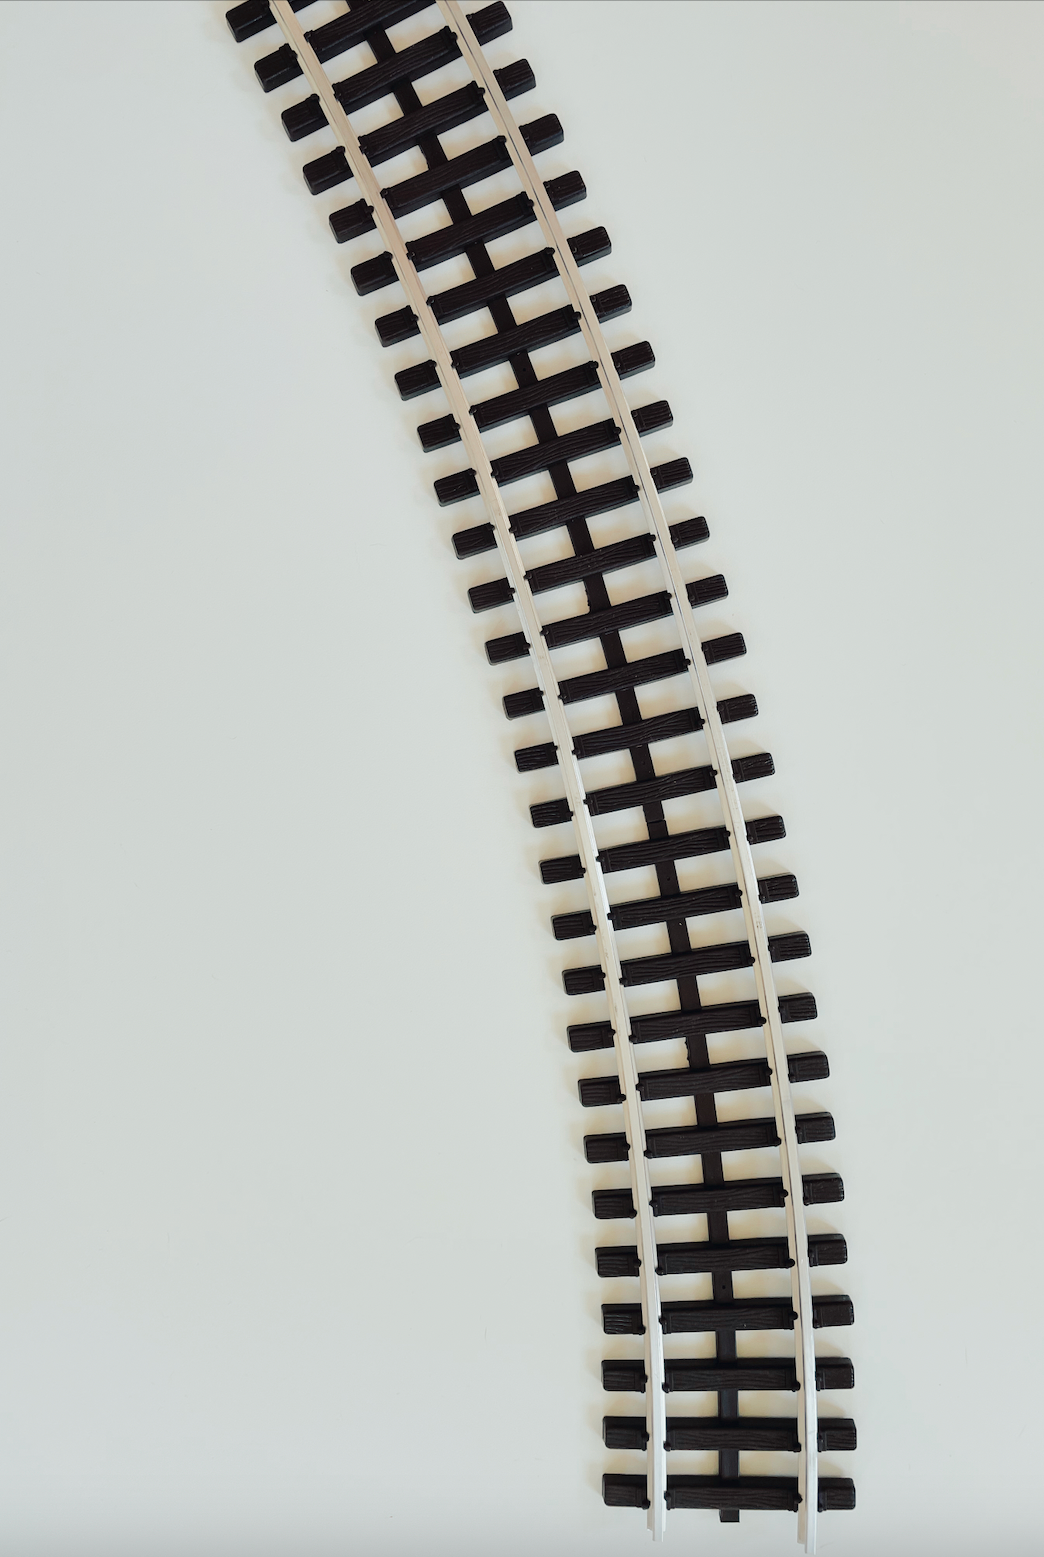
Images: Aluminum rail curve with the Sunset Valley Railbender tool
-
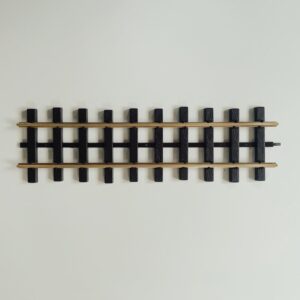 Narrow Gauge TrackPrice range: $29.00 through $58.00
 -
 Mainline TrackPrice range: $29.00 through $58.00
 -
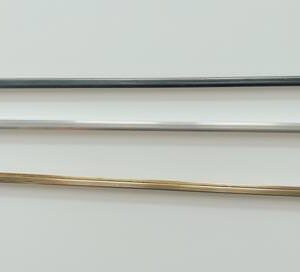 RailPrice range: $10.00 through $39.00