How to mount the actuator to Sunset Valley Switches
Use an actuator to control switches
Equipment
- Switch
- Drill
- 5/32”, .079” (#49) size drill bits
- #2-56×3/8” screws
- Mounting plate
Preparation
Determine which side of the switch you should mount the actuator, we recommend setting the switch to the most used direction when not powered.
Assembly
To install the actuator:
- Placeholder
- Note the position of the actuator and drill a 5/32” hole in the throwbar.
- Insert the throw pin into the hole in the throwbar.
- Pull the actuator plate back about 1/8” to apply some spring tension to the point rails, and mark the position of the mounting holes (for the actuator plate) in the headblocks.
- Drill .079”diameter holes (#49 drill) in the headblocks and attach the plate with #2-56×3/8” screws
- Check the throwbar for free movement.
- To protect the moving parts from stones and dirt, cut an 8” long piece of 1” landscape pipe lengthwise to make a trough under the headblocks.
Offer the actuator under the headblocks (the two long ties) of the switch so that the throw pin is under the switch throwbar.


-
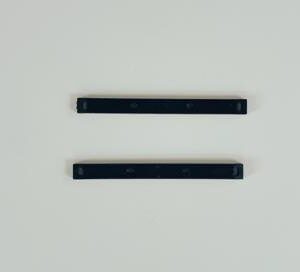 Throwbar$2.25
 -
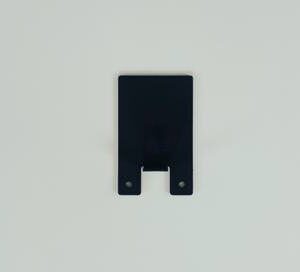 Actuator Mounting Plate$4.85
 -
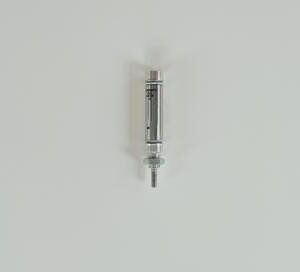 Pneumatic Switch Actuator$57.50