Step-by-step guide for track assembly for your layout
Product assembly instructions for Sunset Valley Railroad brass, aluminum, or stainless steel track.
Equipment
- Rail
- Tiestrips
- Railbender (250 or 332)
- WD-40
- Flat piece of metal or plastic
- Rail joiners
- Sharp knife or chisel
- Ruler
Preparation
- Set up a workspace of 8 – 10 feet
- Remove any burrs on the end of the rail with a small file
- Using a Railbender, pre-bend rail used for curved portions of track
Make all curves with the Sunset Valley Railbender for a constant and even radius bend right up to the end of the rail. We do not recommend the dual railbenders available on the market. These take a straight piece of track that is already assembled and bend it, and are intended primarily for the pre-assembled code 332 tracks that have a loose fit between the rail and the ties. The bending action pushes rail through the ties and puts a lot of stress and distortion on Sunset Valley track, where the rail is a snug fit on the ties.
A Note On Staggering Joints
When laying track, we recommend you stagger the joints at least 1 foot and preferably 3 feet. A 3 foot stagger will create a much smoother curve and was standard practice among most railroads.
Assembly
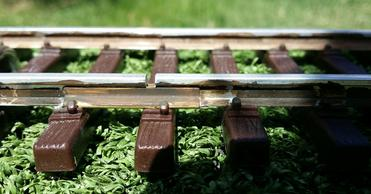
Step 1: Load rail onto the ties
- Place a tiestrip on your work surface on the flat sheet of metal or plastic
- Slide the rail through the ties
Slide tiestrips onto the rail to line up the tie to the rail and stop the rail hitting the sides or bottom of the spike detail (especially important if you are laying track out in the field). - Place another tie strip against the first, making sure the spacer tabs mate together, and repeat. Once the first rail is on all 6 tie strips the second can now be threaded. If a rail is stiff, double check for burrs. WD-40 can also be helpful.
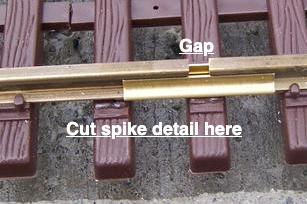
- Slide a rail joiner on the end of the rail
- Cut the spike heads off
Use a knife under the joiner, or a chisel pushed along the tie.
Alternate Method: bend the spike heads up. After the joiner is pushed through, they will gradually bend back to grip the rail. (Photo courtesy of Andrew Beattie) - Leave a .060-.080” (1.5-2mm, or about 2 credit card thicknesses) gap between rails as you proceed to allow for thermal expansion. 6’ rail pieces expand as follows between 30ºF and 100ºF:
- Aluminum .066”
- Brass .052”
- Nickel silver .049”
- Stainless steel .048” (1mm)

Note: Rail temperature can exceed 150°F on a hot sunny day
Additional Notes
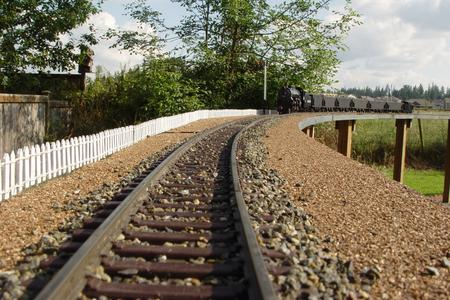
- There are many methods of mounting the track to the base. We recommend screwing it down every 2-3 feet through the centerline strip. Ballasting is optional, if used it will cover the screwheads and make the track look very realistic.
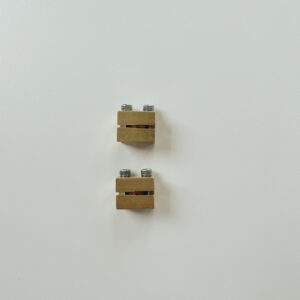
- When using rail clamps, do not screw the track down. You must allow the track to ‘float’ in the ballast or on the track bed for thermal expansion. You do not need to put in expansion gaps as the rails are fixed to the clamps. Do not over tighten the stainless screw as the clamp will crack or break over time.
-
 Adapter Clamp: Pair 250/332$8.95
 -
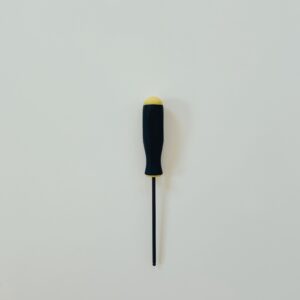 Rail Clamp Driver$4.95
 -
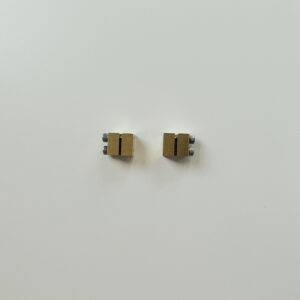 Rail Clamp$2.75